whiskey-braised leeks and kohlrabi mash

One of the best things my mom ever taught me was how to braise leeks. And now I’m sharing her secret to leek perfection, because no one should have to go through life without eating these! While I’m at it, I’m throwing in how to make the kohlrabi mash we had tonight to accompany the braised leeks and seared scallops.

leekskohlrabi

Our whole meal tonight came from the Park Slope Sunday farmer’s market. I love shopping at the farmer’s market whenever possible, not just to support the local farmers but the food tastes so much better too. Leeks, especially when fresh from the farmer’s market, are notoriously full of soil, so washing them well is a key first step. Cut off the bottom and very top (about an inch and a half of the darkest green) and then slice open lengthwise. Then cut each half stalk into about three sections, and rinse well under cold running water, fanning out the layers. Finally soak the leeks in a bowl of cool water for about 15 minutes, swishing them around a few times to release any more soil, and then give them once last rinse. After draining, chop the stalks into about 1/2 inch slices. In a large pan, melt 1 tbsp butter and 1-2 tbsp olive oil and add the chopped leeks. Saute for about 2 minutes on medium-high heat, add about 1/8 of a chicken or vegetable bouillon cube, and then start gradually adding very small amounts of water. The water will boil off quickly; add a little more as soon as the pan looks dry. Keep doing this for about 10 minutes, or until the leeks are soft, stirring as you add the water. When the leeks are soft, add about 1 – 1.5 ounces of whiskey, stir, and let simmer for about 5 more minutes. At the end, add fresh pepper, a little salt if needed, and a generous squeeze of lemon juice.

For the kohlrabi (we used purple kohlrabi tonight, but the green/white and purple both taste the same), remove the leaves (you can use these in another dish, stir fried or steamed), and peel off the tough outer peel. At this point I usually slice off a few little pieces to eat raw because it’s so tasty, and then cut the bulbs into quarters, and boil them in lightly salted water for about 30 minutes. When soft, add about 1/4 milk, 1 tbsp butter, 1 tbsp olive oil, and puree with a hand blender or food processor. Add salt and pepper to taste. And in case you’re wondering, there is no real recipe for the seared scallops. My husband is usually in charge of the scallops, and he just dries them well, seasons with salt and pepper, and sears them for about 2 minutes on each side in very hot mixture of coconut oil and butter. They key to the beautiful golden color is to not move them around in the pan while searing!

IMG_6185


sweet potato & beet hash

Sweet potatoes and beets happen to be two of my favorite foods on this planet, so incorporating them both into one meal is pretty much perfection for me. No offense to the regular potato, but my philosophy is why have a potato when you can have a sweet potato? You don’t get as much Vitamin C with a sweet potato, but you can make up for that elsewhere, and you do get about 7,000 times the Vitamin A! Yay for good eyesight.

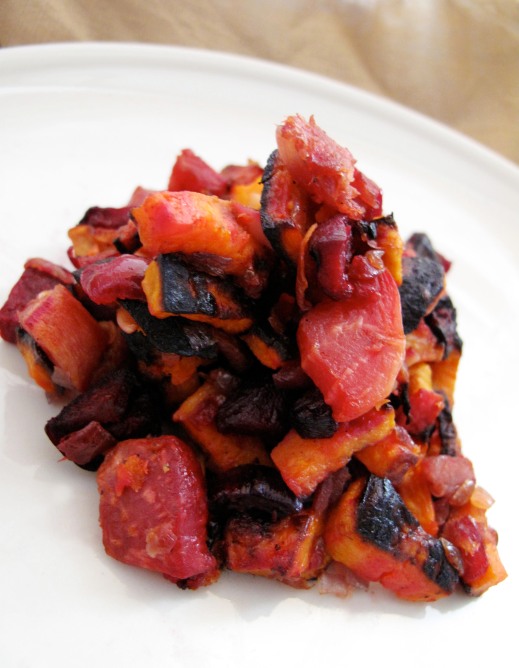
I wanted to make a sort of hash-browns-esque side dish to go with our scrambled eggs for brunch this morning (thank you, presidents, for the day off!). There are a lot of recipes out there for sweet potato beet hash, but I went with this one since it was simple and didn’t require a whole lot of extra ingredients. I used organic turkey bacon instead of bacon, but you could go with some kind of veggie-bacon or skip the bacon entirely if you wanted to make this vegetarian. I also used two different kinds of beets. There was a stand at the farmer’s market that had huge bins of all different shaped wild beets, so I got one long skinny one that was the usual deep purple on the inside, and another that was round and had knobs and tails coming off of it, and was swirled magenta and white on the inside (looked like marbled beef when you cut it open).

The result: a little charred as a result of my non-precise timing with the oven, but tasty!

Image

Sweet potato beet hash


farm shares and purple produce

Due to some generosity and the good fortune of our friends’ vacation, Chris and I inherited two weeks worth of farm-fresh produce. Our friends are members of a CSA (Community Supported Agriculture) in the Dumbo/Vinegar Hill neighborhood. For those of you not familiar, CSA’s are a way for people to buy produce directly from local farms. Before the harvest season, members pre-pay to buy fresh, locally grown organic vegetables which they pick up one evening a week. The farm for this CSA is Sang Lee Farm on Long Island, and this week our share included red romaine, red bulb onions, a bunch of ong choy, purple basil, cherry tomatoes, orange heirloom tomatoes, and watermelon. The night we picked up the share, we made a big pot of mussels with white wine and crusty bread, sauteed the ong choy (which I had never heard of but it tasted kind of like spinach) with garlic and olive oil, made a salad of the red romaine and cherry tomatoes, and had some watermelon for dessert. I was in fresh veggie heaven, and we still had the onions, purple basil, orange tomato, and lots of watermelon left over.

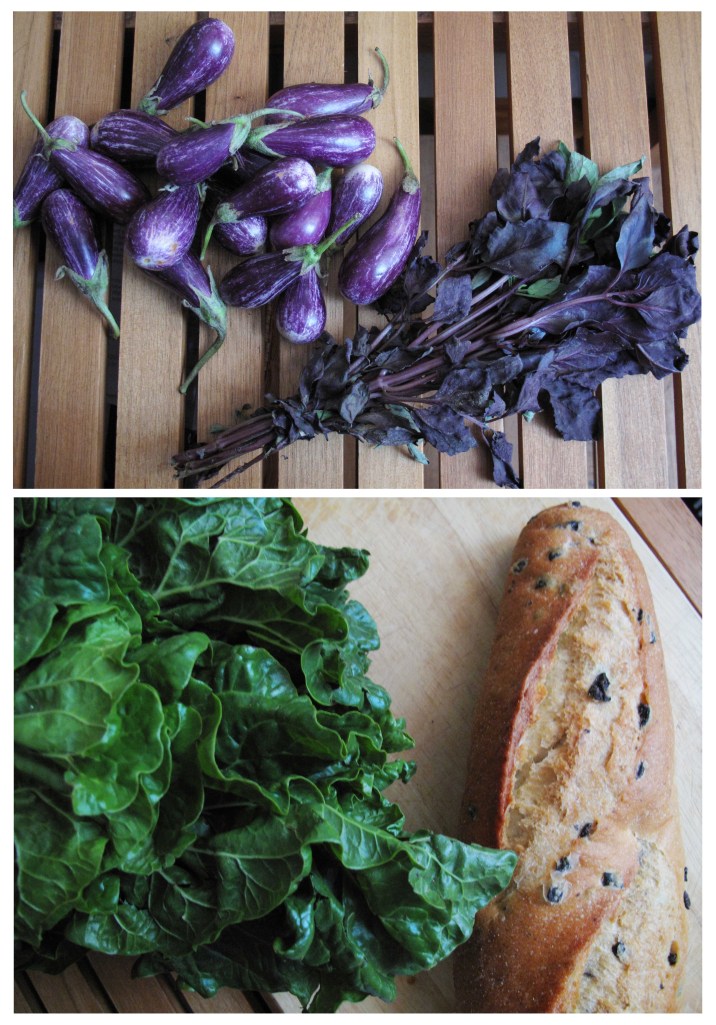
Fairytale eggplant, purple basil, swiss chard, and olive bread


Cinnamon basil

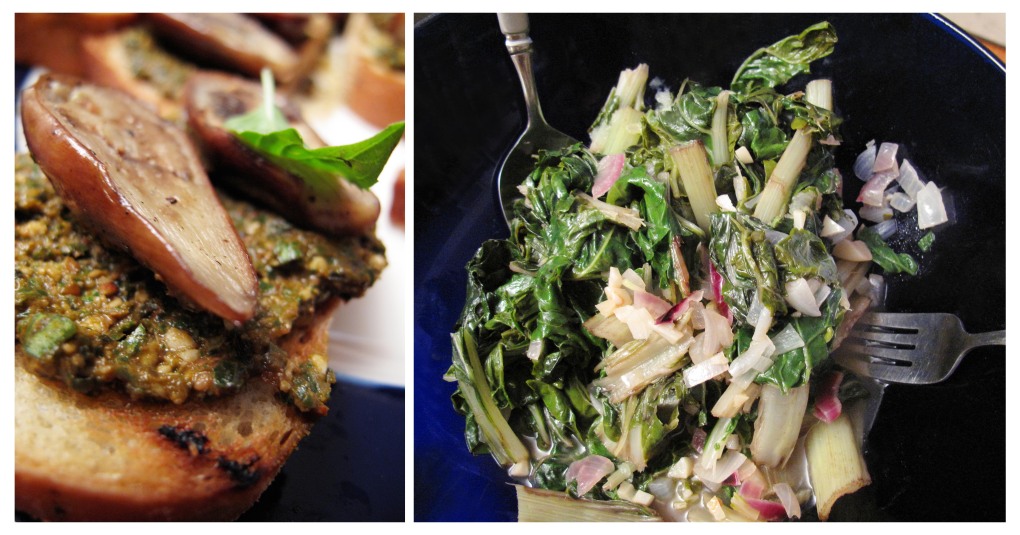
On to the leftovers. Our friends whose CSA share it was had gotten some purple basil the week before (another thing I didn’t know existed until now!) and said it made a good pesto, so on Saturday I started preparing to make a purple pesto sauce for dinner. I found an interesting recipe which is lower in fat than most pesto sauces and uses tomatoes, which is really unusual. However, I quickly realized I didn’t have enough purple basil to make pesto, so I headed to the farmers market to look for more. I couldn’t find any purple basil, but as I wandered around past regular basil, thai basil, and lemon basil, I spotted huge bunches of flowery leaves labeled “cinnamon basil” at one of the stands. As soon as I got it home my whole apartment smelled incredible – like spicy, pungent cinnamony basil goodness. I even kept the flowers in a glass of water after I pulled all the leaves off because they were so pretty. At the market, I also picked up a loaf of black olive semolina bread, these tiny bright purple eggplants called “fairytale eggplant” and a beautiful bundle of swiss chard. With the CSA leftovers plus the farmers market additions, the dinner menu came together: orange heirloom tomatoes with watermelon & feta, black olive semolina bruschetta with purple/cinnamon basil pesto & grilled fairytale eggplant (idea found here), sauteed swiss chard with red onions, white wine, lemon & parmesan, and the rest of the pesto tossed with some whole wheat penne. Truly a feast. And I used more of the leftover pesto mixed with scrambled eggs for brunch this morning. Is there anything basil can’t make better?


Eggplant bruschetta & sauteed swiss chard


grilled asparagus manchego breakfast quesadillas

This meal came about as a result of a few different forces and ideas joining together. Let’s start at the beginning…
1. A few months ago, I made a quesadilla recipe from one of my favorite food blogs, 101 Cookbooks by Heidi Swanson. Read the original recipe and you’ll see that this quesadilla isn’t at all about cheese. It’s unique and the flavors are stunning together.
2. At the Union Square farmer’s market on Saturday, looking for something simple to bring to a friend’s birthday picnic, we picked up a loaf of organic sourdough peasant bread and a nice chunk of manchego cheese.

Shaved manchego

Beth’s Rhubarb chutney

Then, mostly just hunting for samples, we stopped by a table full of jams called Beth’s Farm Kitchen. I was not expecting the variety we encountered – jalapeño jam, blazing tomato chutney, rhubarb, chili cranberry, garlic rosemary jelly… we probably would have tried all 40-ish flavors had we not felt like total pigs. I walked away with a jar of rhubarb chutney (I feel like you have to buy something if you eat samples for over ten minutes) and a frequent jam punch card – believe me, I’ll be back!

Brooklyn Salsa

3. Last fall, I discovered Brooklyn Salsa, probably one of the best salsas I’ve ever had, made with fresh local organic ingredients, at the Brooklyn Flea in Ft. Greene.  It comes in five flavors, one for each borough. Having only bought it at the Flea, I was ecstatic to see it on the shelves of my supermarket around the corner a few days ago! When I mentioned it to Chris, he said we should recreate one of our great brunches from last September – scrambled eggs with heirloom tomatoes, roasted red peppers, hot peppers, avocado, lime, and the “Bronx” (curry eggplant) Brooklyn Salsa. However, heirloom tomatoes aren’t quite out there yet (well, there were some tiny ones at the market for $4.75 a pound!) and I was up for trying something a little different.
So now that you have the back story, here’s the brunch. We took the egg-tortilla method from the 101 cookbooks recipe, threw in some grilled asparagus, and thin shavings of leftover manchego cheese from the picnic, and served them with both Brooklyn Salsa (the Staten Island “Green” kind) and the rhubarb chutney.
Beat three eggs well (I use Pete’s cage free organic large) and set aside. Wash a large handful of asparagus and trim them (just snap the bottoms – they will break where they are meant to). I like to use the skinny variety of asparagus for a recipe like this.

Grilled asparagus

Heat a cast iron grill pan and spray it with a light coating of olive oil. Grill the asparagus until just slightly browned and charred. Remove from the grill and set aside. Heat a small pan and spray with olive oil. Pour in about a quarter of the beaten egg and after about one minute, place a small yellow corn tortilla on top and press down gently with a spatula to help it adhere. When the egg is set, flip it over and place asparagus in the middle. Shave some manchego cheese (as much as you like; I use just a basic vegetable peeler for this) over the asparagus and flip one side of the tortilla over like an omelette. Give it a minute for the cheese to melt, remove from the pan, repeat steps for the remaining three quesadillas, and serve!

Don’t forget to add your favorite salsa or chutney. Our verdict?

The rhubarb won this round.


an experiment with radish tops

I went to the farmer’s market this morning and was excited to find summery goodies like radishes, strawberries, and sugar snap peas. (I’m still counting the days until I find peaches out there though… stay tuned for my peach avocado salsa!).

Farmers Market finds

Farmers Market finds

As I was walking home, I started wondering if you could eat the radish tops. It seems weird and wasteful to cut off the radishes to eat and throw away a huge pile of leafy greens. But I knew some research would be required; some vegetables have toxic parts that you’re not supposed to eat, like the tops of rhubarb. After a little googling, I’d learned that radish greens can be eaten – raw, juiced, in soups, or braised or sauteed as you would other tough greens like mustard greens or swiss chard. The only warnings were of the pungent peppery, bitter flavor which some people don’t like. I also found out that the radish greens are high in potassium and folate, and have six times as much vitamin C as the radishes themselves.

So I got to work. I knew I didn’t want to make a soup (it’s June and I have no AC) and I don’t own a juicer. One touch of the brittle prickly leaves told me I didn’t want to try them raw either, so I started hunting for a recipe ideas that involved pan cooking. I came across an Asian stir-fry type recipe from Kalyn’s Kitchen, and decided to use that as a guide but alter it based on what ingredients I already had.

Radishes

Separating radishes from radish tops

I didn’t have peanut oil so I used sesame oil. I also doubled the amount of garlic, and didn’t remove it before adding the greens (if you’re not as obsessed with garlic as I am, stick to the original recipe). And I substituted honey for the agave nectar in the sauce and added more sriracha (I have a high tolerance for heat). I was really skeptical as I was chopping the greens. They are very rough and have almost a needle-y hairlike quality to the leaves. After I sauteed them, I took a taste before adding the sauce. I have to say they were probably too bitter to be enjoyed without some sort of seasoning help. But after I added the soy-rice vinegar-honey-sriracha sauce? Delicious! And, as of an hour after eating them, I haven’t collapsed yet. So let’s hope all those people on the internet were right about radish tops not being toxic.

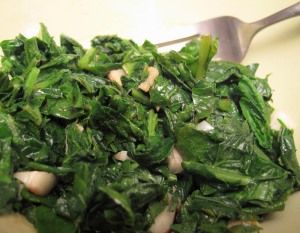
Sauteed radish greens

Final product: sauteed radish greens w/ garlic & asian sauce