A cast iron skillet was one of the only tangible items we put on our wedding registry. I can’t believe I didn’t have one before — it’s one of those kitchen “must haves” — and although I did have a ridged grilling cast iron pan, I didn’t have a flat bottomed cast iron skillet, which is perfect for frittatas, among other things! So now that we have one (thanks Ben & Evan!) it was time to celebrate not having to study this weekend with a leisurely homemade brunch.
 Frittatas are great because you can really throw in anything you want. If you ever have a bunch of veggies in the fridge that are looking a little sad, a frittata is a good way to use them up! Today I went with mushrooms, spinach, and ricotta. Onions or shallots of course, are always key as a first ingredient. Start with a generous few “glugs” of olive oil (especially if your cast iron skillet is new; it will need more fat to prevent sticking). Add diced onions or shallots, and let them cook until translucent or beginning to caramelize. It’s important to really get your onions browned before adding the other veggies if you’re using mushrooms because the mushrooms will start to release a lot of liquid as they cook and then you’ll just have steamed onions.
While the mushrooms are cooking, whisk eggs in a bowl (use 4-6 unless you have a very large pan; I used 5 today. I was worried 6 wouldn’t fit in the pan with all those veggies, but I probably could’ve managed it), and add some salt and pepper and some fresh or dried herbs like some oregano or basil, depending on the flavors of your veggies. Once the mushrooms are well cooked (they will cook down a lot), add your spinach or other greens and cook until wilted. 
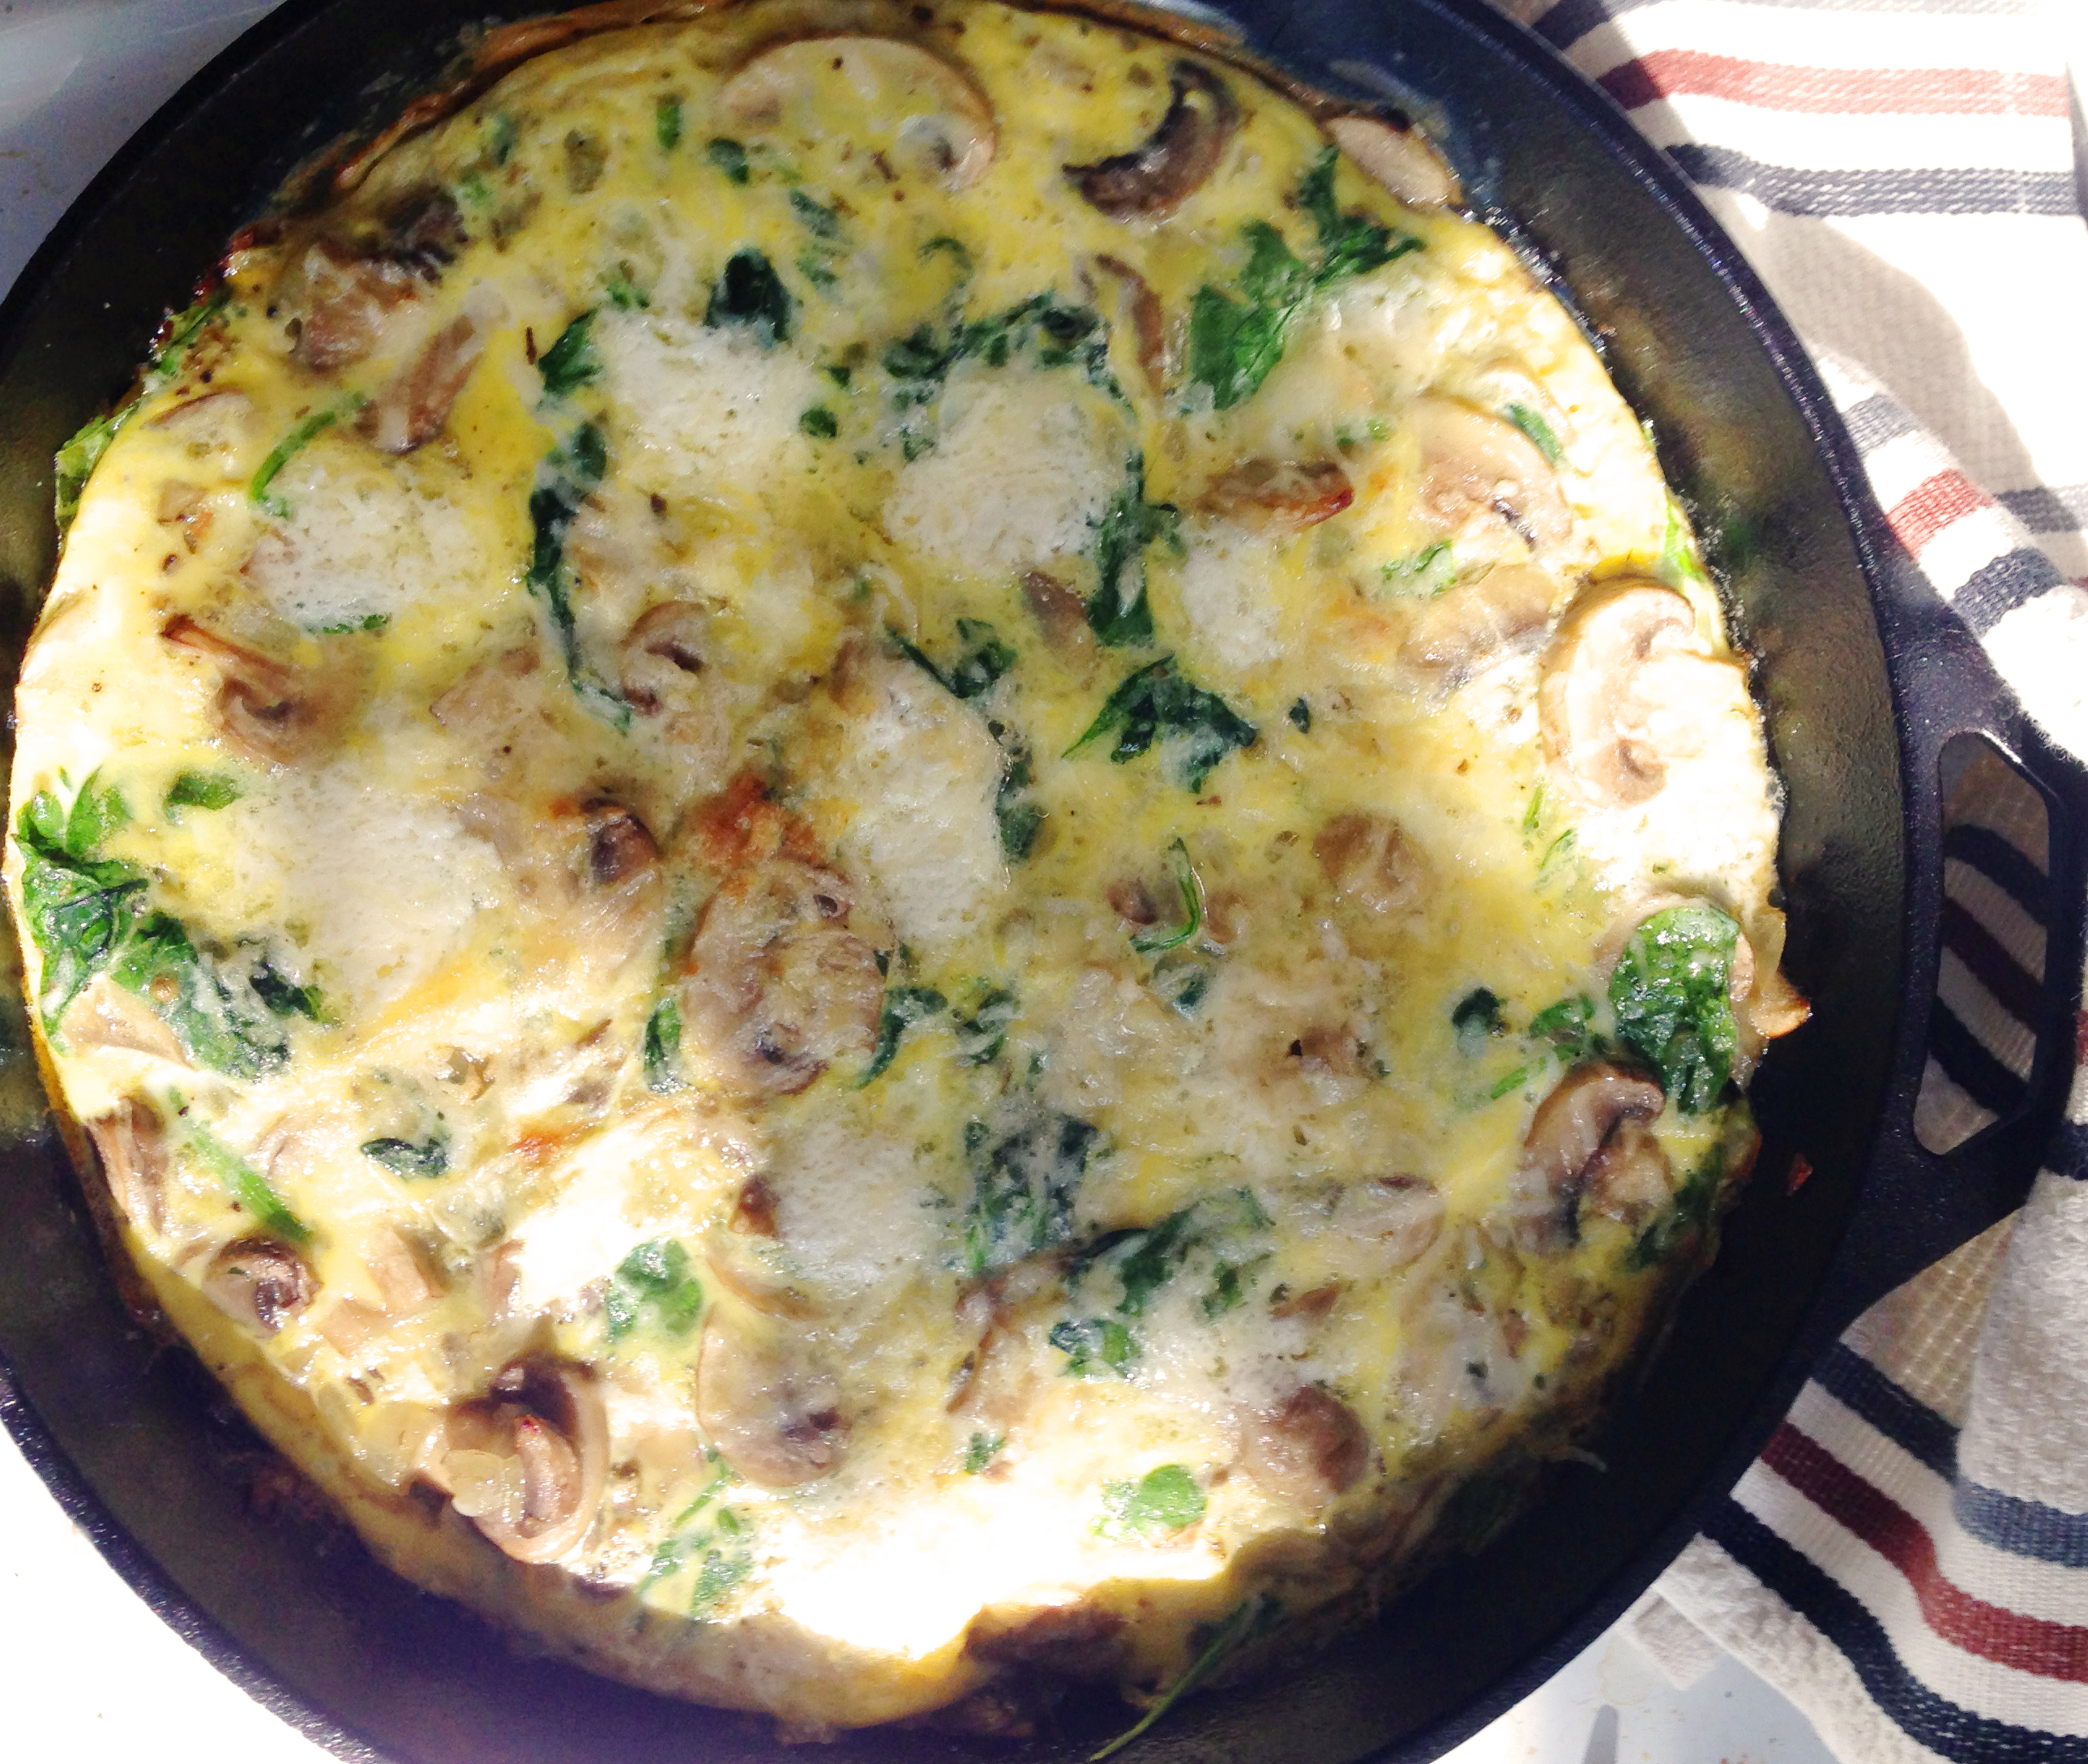
Then pour the beaten eggs into the skillet and push them around a little with the spatula, tilting the pan to get them evenly distributed. Next add dollops of ricotta cheese throughout, and finish with some grated parmesan on top before moving the whole skillet to a 400 degree oven for about 10 minutes. Remember when taking it out that the handle of the skillet is also cast iron – it will be hot!
 Serve warm on top of more greens or salad, add extra grated parmesan if you want, and enjoy! I also like to add some dried red pepper flakes for a little kick. The saltiness of the parmesan with the heat of the pepper flakes and the sweetness of the onions, mushrooms, and ricotta is perfect.
TIP- Keep your skillet seasoned: You don’t need to wash it with soap; just scrub any stuck food off with hot water and a brush/scrubber as soon as possible after cooking, dry it immediately, and spray some vegetable oil on it while still warm. This will “season” your skillet, protecting it from moisture so that it will last longer, and your food will taste better and better. Avoid cooking with acidic foods (like tomatoes) until you’ve cooked with and oil-coated your skillet quite a few times. I’ve heard that a cast iron skillet can last 100 years if treated correctly!